

| Mazda 99+ Windblocker | Back to the Shark's mods page |
|
|
|
or "Aero Board" as Mazda calls it.
click on photo for larger image.
OK, some people think driving around top down all winter is nuts. At least most of the people I work with, a lot of the people I pass on the way to work, and at least two morning drive time disc jockeys in the local area. (My 15 seconds of fame)
But I LIKE it. Driving with the roof down that is. Freezing my ass off doing so, is NOT my idea of a good time.
So began the quest for a way to keep warm, and to keep the top down.
Phase 1 Shut down the heat ducts on the passenger side of the car. This is a five minute job of stuffing a black (to keep it unobtrusive) towel in the console, at floor level, on the passenger side.
Phase 2 Drop the glove compartment, reach up into the bilevel ductwork, separate the two haves, and stuff a rag (any color ;-) ) into the duct work. Reassemble the two halves, hang the glove compartment. Another 10 minutes.
This puts 100% of the heat on the drivers side.
Phase 3 Find a windblocker. I wanted something that looked factory, and while the Oris, the Keith Tanner, and the other types certainly seemed effective, stock looking, they weren't. Then the 99 blockers started showing up in the catalogs, and it obviously looked stock.
I was concerned that it wasn't very tall, but I figured I'd try it. The order taker at MM Marketing warned me in very serious tones that the 99 blocker would not fit my 94, and would not be returnable if any modifications were made to the board.
Having measured a 99 at the dealer, and checking the measurements on my car, I couldn't see why it wouldn't work. I ordered it, the board arrived a couple of days later, and yeah, I had to drill one hole in each side of the seatbelt towers, and run a bolt through the mounting bracket and the seat belt tower. If you use the boot when the roof is down, you will never see the additional bolt. If you don't use the boot, and you know what you are looking at, you will obviously see the extra bolt. I used black bolts, and unless you are really tuned into the way a Miata looks, you will never notice it.
One major downside for anyone in a 90-93 using this blocker, is that raising and lowering the rear window is now a little more awkward from the drivers seat. 94-97 users already have the rear cockpit brace to contend with, and the blocker has no impact from this point of view. I just get out of the car to do the window anyway.
I have had several inquiries for more detailed instructions. I plan on adding them when I get time. In the meantime, if you are considering this, and are interested in my $.02 email me.
The blocker makes actually make the turbulence feel stronger at head level, but below the shoulders, it almost gets toasty after everything warms up. I can also leave lightweight objects on the passenger seat now without fear of them blowing away.
Phase 4 Passenger side window UP Drivers side window DOWN. Someone over at rec.autos.makers.mazda.miata (Doc Leon I think) explained the physics of this once. I still don't understand the math, but it works.
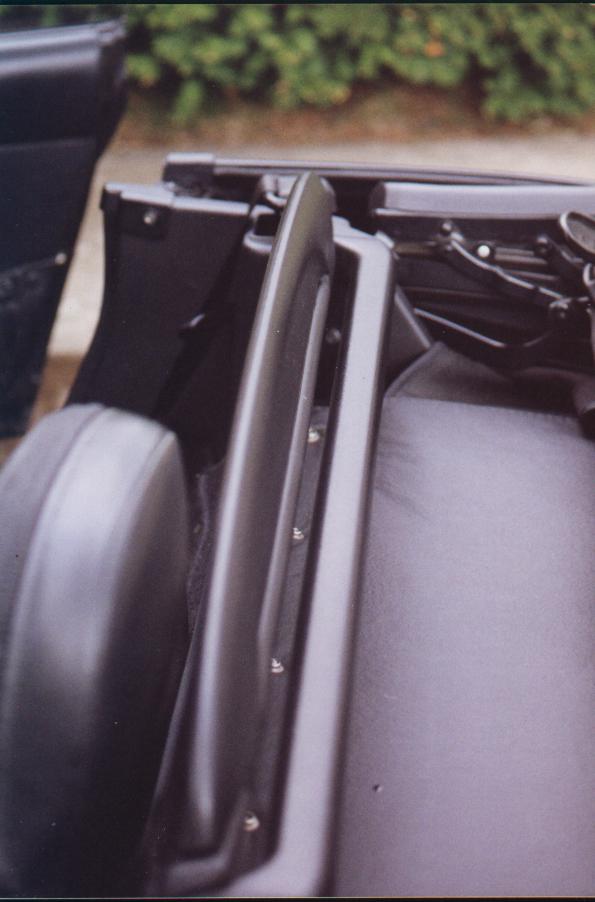
More than a couple of people have asked for more photos, so here they are. The previous owner of my car had removed the cockpit brace. And I originally installed the windblocker in the 1990-93 mode. I subsequently picked up a cockpit brace, and moved the windblocker to it current home. The good news for you guys is that all holes are pictured. The windblocker sits flush against the cockpit brace on the corners. The folding half lies on the brace when down.
It is a little bit more vertical this way than when on the 90-93 or the 99+ but that hasn't been a problem for me.
Mazda Part #'s
Black NC10-V1-260F-02
Tan N053-68-3X0C-21


Click here for the Template Click on photos below for enlarged pictures.